
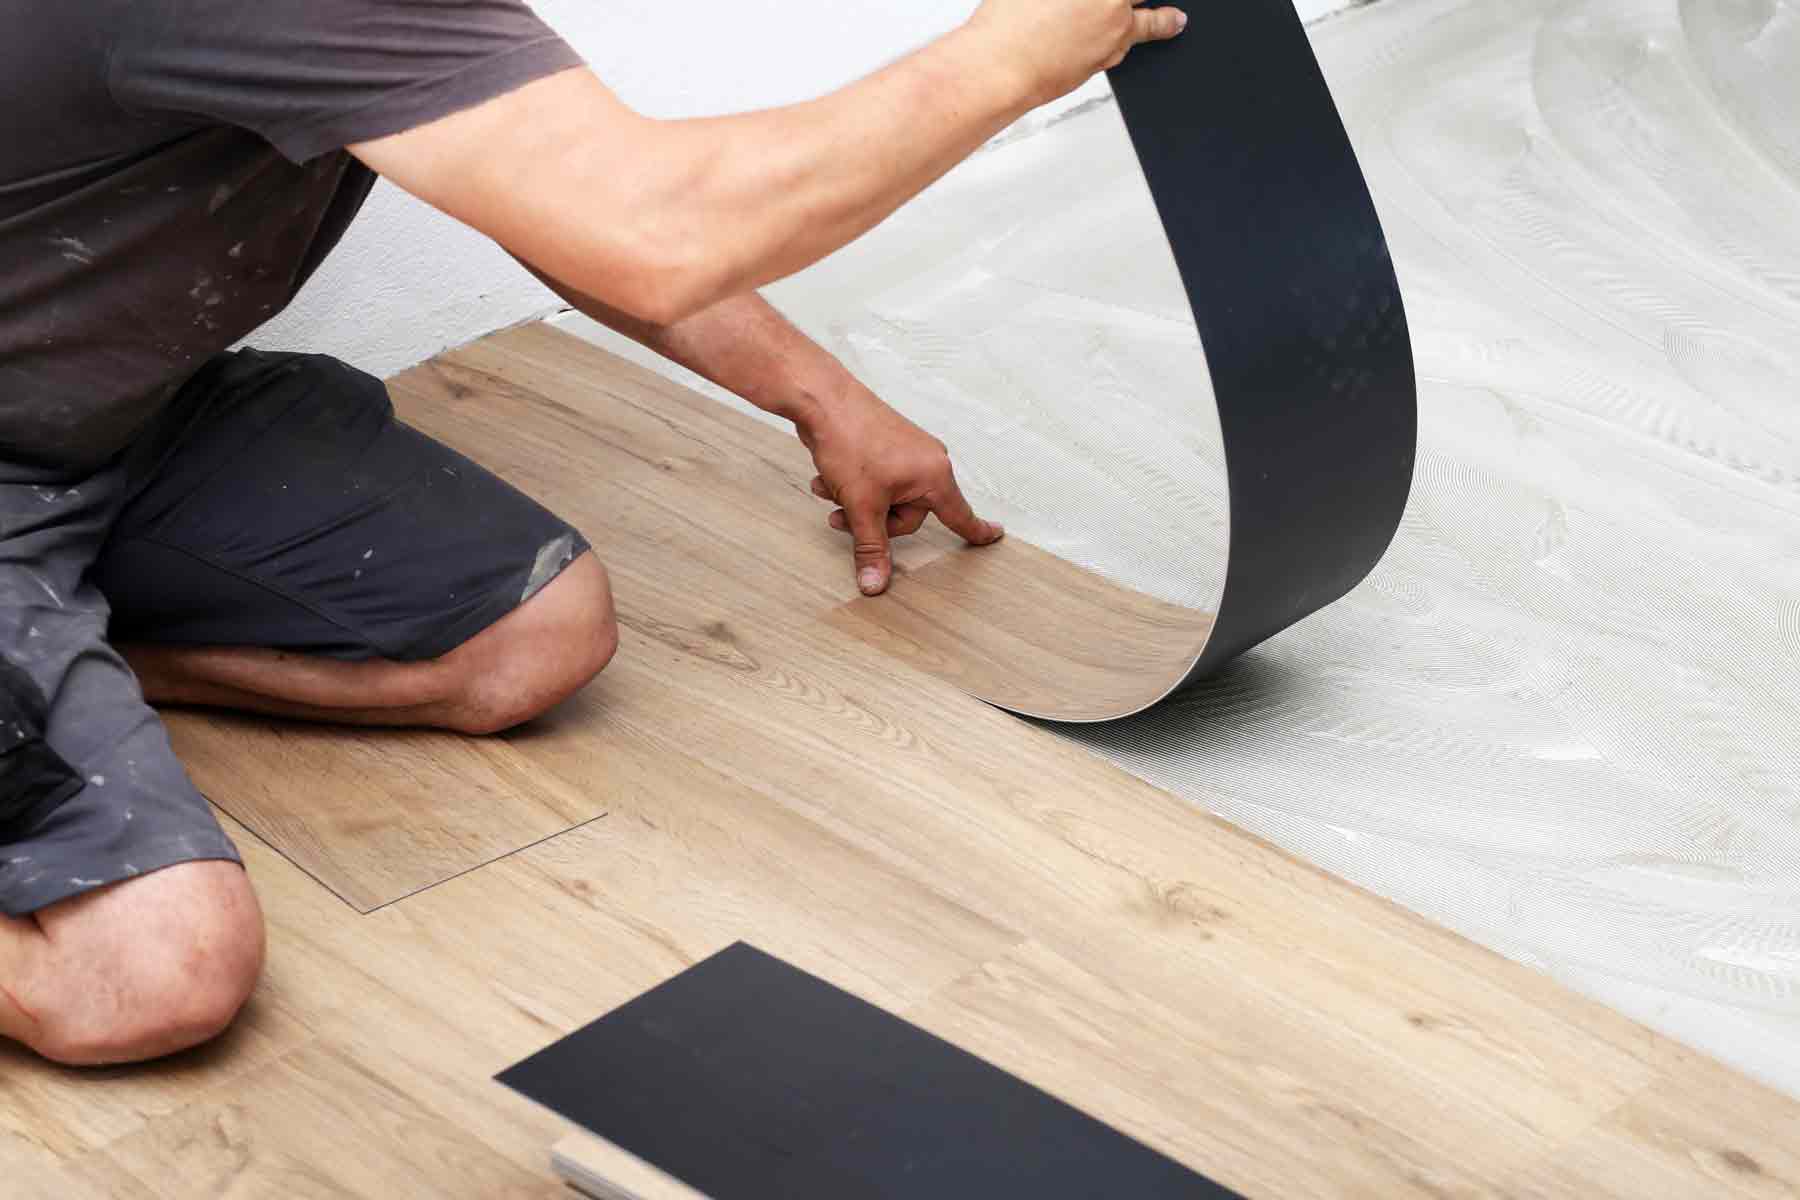
If you’re a DIYer who has decided to upgrade your floor to vinyl tiles or planks, you may be tempted to search for a YouTube guide on flooring installation for beginners. While the chances are high that you’ll execute it flawlessly, it’s also easy to make small mistakes that can lead to expensive repairs later.
Luxury vinyl flooring (LVT) requires proper planning and preparation. These are what separates a flawless floor from one that creaks or buckles prematurely. Whether you want to DIY or hire a professional, this article covers some of the most common vinyl flooring installation mistakes that trip up beginners.
Skipping Subfloor Prep
Many vinyl flooring mistakes are not immediately noticeable, and one of the biggest ones is thinking that a subfloor that “looks fine” is ready to go. Unfortunately, tiny dips, small bumps or debris, or even leftover adhesive can cause planks or tiles to shift over time. Before you install new flooring, sweep and vacuum thoroughly. If there are any cracks or holes, repair them. The aim is to ensure the surface is completely level before laying your first plank.
Ignoring Acclimation Time
Vinyl flooring installation mistakes often start before installation even begins. Many homeowners are eager to begin installation as soon as the flooring arrives. However, vinyl flooring expands and contracts slightly as it adjusts to room temperature and humidity. If you then skip the acclimation time of letting the flooring adjust to your room’s climate, you risk buckling the flooring. Let the flooring acclimate between 24 and 48 hours before installation.
Forgetting Expansion Gaps
Although luxury vinyl flooring is dimensionally stable, it still needs room for natural expansion and contraction. When you fail to leave sufficient expansion space around the room, the floor can buckle over time. All the stress on the flooring system that mostly comes with seasonal temperature changes will affect its durability and appearance. To fix this, leave a quarter-inch gap around the perimeter of the room. Baseboards or trim will cover it. Their installation should not fit tightly against walls and fixtures.
DIY vs. Hiring a Professional Installer
Even if you hope to save money through DIY installation or you are quite handy, DIY vinyl flooring installation works great when it is a smaller room in question. Complex layouts, stairs, uneven subfloors, or even large open spaces often require professional expertise.
A professional LVT flooring installer has more experience with subfloor issues, moisture testing, and even how to best optimize the layout of your space. These are often harder to master on your first try.
Forgetting Moisture Protection
One of the biggest challenges of flooring is moisture. Even if you’re installing waterproof LVT or LVP, excess moisture coming from the subfloor can affect adhesives and encourage mold growth. In some cases, it can damage surrounding materials. You need an appropriate moisture barrier or vapor barrier, especially in basements, ground-floor rooms, or areas prone to humidity. Always test for moisture before installation to prevent significant repairs later.
Endnote
Success with your vinyl flooring installation starts long before the first plank is laid. Going the DIY route can be best if the room has a simple layout with a level subfloor. However, when multiple rooms are involved and there is a likelihood of moisture issues, get a professional LVT installer for long-term cost savings and solid project execution.